lunes, 29 de febrero de 2016

Call Of Duty - Bloodlines: SECRET SCORESTREAK LEAKED

Which Call Of Duty player does not remember the famous MOAB from COD: Modern Warfare 3? Who has not seen someone achieving the Mother Of All Bombs? Well, taking into account the fact that every single Infinity Ward game since Modern Warfare 2 has included a lethal hidden killstreak (Tactical Nuke in MW2, MOAB in MW3 and KEM Strike in COD: Ghosts), we were expected to see a hidden killstreak in this brand new Call Of Duty title. What we did not expect was the hidden killstreak to be leaked now, two months before the official announcement of Modern Warfare 4(title not confirmed yet).

MOAB w/MP9 pistol (screenshot by me)

Well, the hidden scorestreak is supposed to be called DIME (Dense Inert Metal Explosive) bomb. Someone posted in Reddit some days ago information about this hidden killstreak, and the guy who posted it said that he actually was working in Infinity Ward but could not reveal his name just to keep his identity hidden. He said that the new scorestreak was called DIME bomb, and revealed some details about it. The things that made me think that this is true were that, some hours ago, the post was removed from Reddit. There is a few likeliness of a post in Reddit to be removed. Moreover, the DIME Bomb in real life causes cancer to everyone who gets affected by its explosion, and in 2013, Hugo Chavez died due to a cancer. This may be the reason why this killstreak was not included in Call Of Duty: Ghosts and will be included in this new Call Of Duty. Nothing is confirmed yet, but it may be true. We'll see it in two months.

viernes, 26 de febrero de 2016

Black Ops III: New weapons and scorestreaks leaked?!

Did you imagine a M27 assault rifle in Black Ops 3? Did you imagine a new specialist character in BO3? Did you imagine that the most lethal scorestreak ever, the Lodestar, would come back to Black Ops 3? Yes, it will... or maybe not? Well, let's watch the video embed below and then think about what's actually going on with these "urban legends".


Well, if you have played BO2 before Black Ops 3 came out, you will totally agree with me in the fact that M27 was the best gun in the game for Hardcore game modes. Who has not done the "slalom" tactic in Nuketown HC Domination on Black Ops 2 using the M27? We all, especially Hardcore players, loved this gun on Black Ops 2, and I'm glad to announce that it will come back to Black Ops 3. However, there was also the rumour that the MP7 gun would appear on the final version of Black Ops 3, due to the fact that some footage of a german guy using the MP7 were seen on various Youtube videos, but it finally had not been released.


And not only has the M27 been present in various public matches, but also a guy posted a video on Twitter, in which the Lodestar scorestreak could be seen. In this game, scorestreaks are not that lethal, and it would be perfect to introduce a scorestreak which could really finish off the enemy team. Moreover, a 9th specialist has been shown in various public matches. Its attire is different from the other characters, but we don't still know what its name is, and which its abilities are. Will it be finally released on Black Ops 3, or will it be just a rumour of something which will never be released? Well, we will have to wait to see it.

Black Ops III: HUGE 9 GB PATCH ADDED

Some days ago, as many of you may know (if you play COD obviously), a DLC was released in Call Of Duty Black Ops III. The thing about this patch is, that its size is the highest size of a patch in the history of Call Of Duty: 9 GIGABYTES. This patch includes the new DLC, called Awakening, which includes four maps, and a Zombies map. The maps are called Rise, Splash, Gauntlet and Skyjacked, and this last one is a remastered version of the fan-favourite Black Ops II Map Hijacked. A disadvantage of this patch, in my opinion, is that I have not bought the Awakening DLC, and I still need to download the big patch in order to play online even if I have not downloaded the DLC. This patch has also included many features in which some weapons have been buffed and nerfed, and some bugs have been fixed.
  • First of all, let's talk about DLC maps. There was a glitch in Splash and Gauntlet and you could kill from outside the map without dying. Now, this patch has forbidden players to do this. 
  • Until now, we were able to infinitely vote for the previous map in pre-game lobbies. Now, we are not able to do this anymore.
  • Free Run mode, Nightmares mode and Dead Ops Arcade II can be accessible from main menu now.
  • The G-Slide movement has been removed from public matches.
  • In Hardcore game modes, some killstreaks will not count anymore towards kick limit: Talon, Cerberus, Wraith, GI Unit, and RAPS.
  • Teammates can no longer damage friendly scorestreaks in Hardcore game modes.
  • Vesper submachine gun's recoil has been highly nerfed.
  • Sheiva assault rifle has been buffed and, now, two bullets are needed to kill the enemy until a distance of 100 metres.
  • Mothership can also be locked by launchers in Free-For-All gamemode.
  • HATR (AT LAST) has been fixed, and now, if the owner dies, the HATR will still be shown on air.
Don't forget that this weekend there's double XP weekend, so, if you are playing BO3 on any console, you will be able to rank your account up a lot faster!

martes, 23 de febrero de 2016

How to make the Fire Bow!

STEP 1. Build the Wrath of the Ancients

To build all the bows, first you have to get the Wrath of the Ancients. If you don't know how to get it, you can see the tutorial on my blog: Tutorial Wrath of the Ancients

STEP 2. Take the Broken Arrow

To take the broken arror you have to go to the Tower in the corner of the map on the left of the pack a pounch localization. 


To take the arrow first you have to shoot with the bow to the symbol and then press the square to take  it.


STEP 3.  Shoot the Crack

To make this step you have to stay in the area of the rocket. When the launch testing finishes you have to go fast in to the rocket area and shoot the crack with the Wrath of the Ancient.


Then a red ball will be launch to the central area of the map. That ball will be inportant on the making process of the bow.


STEP 4. Activate all the circles

There are 3 circles that now are visible on the floor of the map. To active them the only thing you have to do is shoot them with the Wrath of  the Ancients on the air. To make this you have to shoot them after you take the specific launcher. Thoose are the locations of each circle:

          The first one is in the meadle of the map near the pack a punch location.

          The second one is near the first dragon and the starter room.

          And the third one is near the tower of the clock.


Then when you active all of them you have to kill 10 zombies inside each circle, When you complite every circle it will launch a red light.

STEP 5. Check the clock for your Apothicon symbol
After the ritual is complete, head back up to the clock tower and activate the clock to spin the cogs inside of it. A symbol will appear on the top, and make sure you take note of it

STEP6. Find your fireplace and shoot it
Now you will have to head near one of the three fireplaces on the map and shoot it with your bow. Unfortunately it isn’t that easy. To get to the fireplace you have to “chain” shots together. Basically, starting from the nearest ritual circle, you have to shoot arrows that hit the ground and create boulders that get you to within sight of the fireplace. You have four total, so shoot wisely. 

The three fireplaces are: 

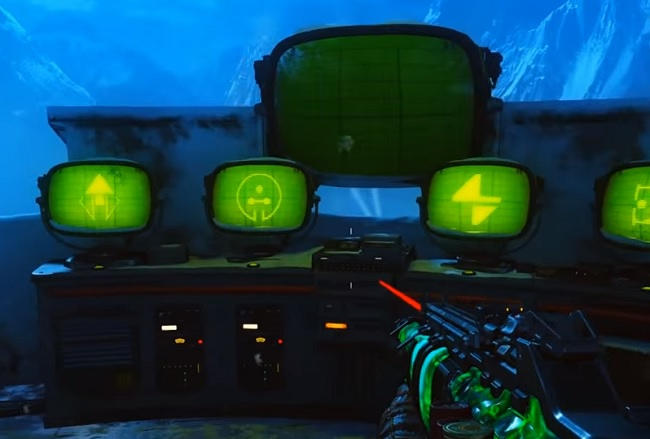
                       -In the lab with the green screens. 
                       -The bedroom area. 
                       -Opposite the dragon outside in the courtyard.

Step 7. Blow up the glowing thing near the death ray

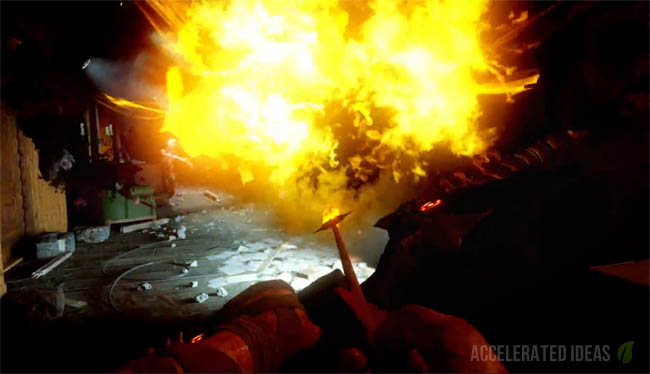
Next, head up to the death ray and activate the glowing thing so it explodes, and you are on to the final step!

Step 8: Charge the bow at the pyramid

The final step has you charging your bow at the chest in the pyramid room. Place the bow inside and then kill zombies nearby to give it some charge. When the chest is satisfied, go and grab your shiny upgraded bow! It will create molten waves of rock that burn all zombies around it

viernes, 19 de febrero de 2016

Easter egg der eisen drache


Step 1 - Build the Pack-a-Punch


PaP


To build the PaP you have to teleport 3 mount of pieces in 3 locations that are shown in the video below. That step isn't essential to make the easter egg but it will help you in the making process. 


For full details on this step please see: Where is Pack a Punch


Step 2 - Activate the Pyramid


Pyramid


After turning on the Power the inaccessible doors leading underground are now open. One door is directly below the first dragon in the main courtyard. Head through the door, underground and into the ritual chamber area.


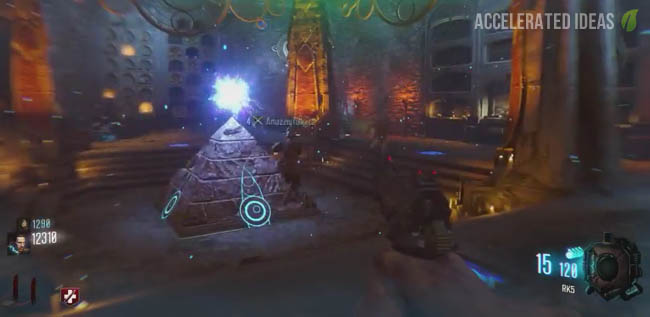
You should see the pyramid on the floor, surrounded by familiar ritual items, candles and sculptures.

Now you have to switch on  each  square. 

To make this you have to stay 5 saconds more less in each square until it makes blue and start sending a blue light. When you have already make this the antigravity system will tourn on. 
Step 3 - Build the Wrath of the Ancients


Wrath of the Ancients


The Wrath of the Ancients is the elemental bow by any other name. It's a reward for feeding all of the wall Dragons.


For the full tutorial see: How to get the Wrath of the Ancients


Step 4 - Upgrade the Bow to Electric, Wolf, Fire and Void forms


Wolf bow


The bow can be upgraded in four different ways, each upgrade requires a different number of steps. See this page for upgrade steps for the wolf bow: Upgrade the Wrath of the Ancients


Note: Players ONLY need to upgrade enough bows to have one each. So if you're playing SOLO then you ONLY need one upgraded bow - the recommended choice being the Electric/Lightning bow. You will still be able to do the keepers (Step 13).


Step 5 - Build the Ragnarok DG-4


This second Wonder Weapon, also refereed to as Gravity Spikes, is a buildable that requires three parts to be assembled at a workbench. See the guide here for the part locations:


https://www.youtube.com/watch?v=1Y94XgLzrQ0


Step 6 - Use the Ragnarok DG-4 on Clock Tower


Note: Some players have reported that this step may not be required.


Go to the top of the Clock Tower and plant the DG-4 on the floor behind the clock. Go downstairs and take note of the lever next to the green computer screen - this allows you to stop and start the clock. Use the lever and good timing to stop the clock when it's 9:35. An audio clue will sound and lightning will strike the tower.


Go back to the pyramid room and you'll notice an extra ball on top.


Step 8 - Go back in time


Head over to the teleporter and shoot the prongs on the teleporter (at the top) with the unupgraded bow until they turn gold. New sparking objects will appear around the map. Locate these items and shoot them with the bow. Locations are:


Radio in the opposite corner to Speed Cola
Clock above command center room
Clock in the hall leading from the clock tower
Phone, on pillar opposite Power Switch
Globe in small room (beside Samantha room)
Box in the room above Double Tap
Car tyre by Double Tap
Phone at Spawn, near Quick Revive


Upon successfully shoot a wisp with the bow, move onto the next blue spark, shoot again. Repeat this four times in quick succession.


Note: Make sure the round doesn't end before moving on to the next step.


Step 9 - Use Death Ray and Computer Terminal


Groph - back in time


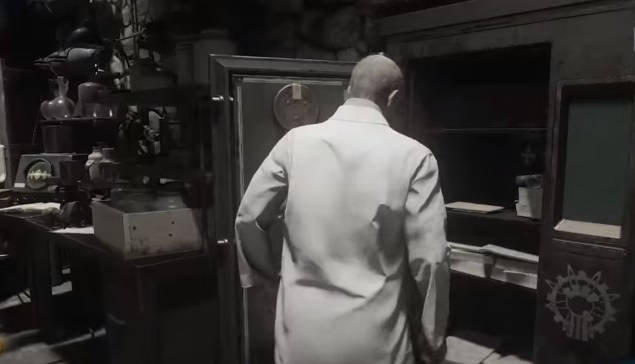
Now return to the teleporter and it should be purple. Step inside (with all teammates if not playing SOLO) and teleport back in time. The screen will turn black and white and Dr Groph is putting something inside the safe whilst talking to Richtofen over the radio.


Pick up both the Soul Canister and blue Fuse in this room and MAKE SURE you note down the code that Groph enters on the safe.


Step 9 - Use Death Ray and Computer Terminal


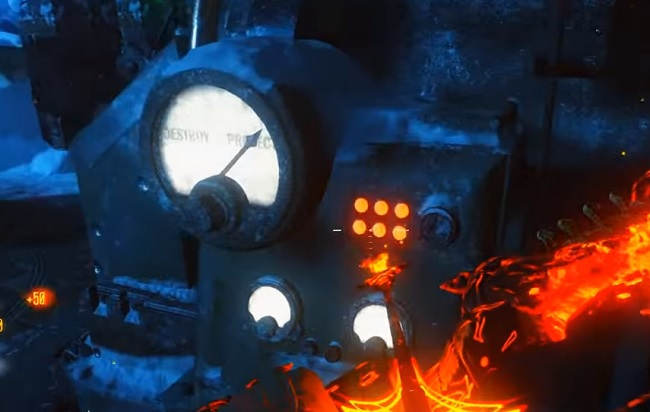
Death Ray - change mode


Go to the Death Ray and place the blue fuse into the machine then change it to "PROTECT" mode by interacting with the switch on the side. This will activate the computer terminal by the Rocket and the terminal outside the Clock Tower. Now go to the computer terminal outside the Clock Tower (2nd level) and enter Groph's code into the computer.


Note: The code changes every round so don't kill the last zombie.


Step 10 - Open the safe


Open the safe


Now that the correct code has been entered into the computer terminal, the safe near the teleporter will be open. Head over there and collect the two cylinders (Tesla Coils) and key card (floppy disk).


Insert the two Tesla Coils into the tesla machines either side of the Death Machine then set the Death Ray to "DESTROY" mode and activate it. The machine will become super charged. Now insert the key card (floppy disk) into the computer terminal.


Step 11 - Play Simon Says


Simon Says game on computer terminal


Use the computer terminals (outside Clock Tower and by Rocket Launch site) to play a game of Simon Says. Memorize the position of the four lower symbols, they will disappear and a symbol will appear on the top screen one after another. Each time a symbol appears, pick the matching location on the four lower screens. Don't make a mistake or you'll have to start all over again.


You must play Simon Says once on the Clock Tower computer and again on the Rocket Launch site computer.


Step 12 - Dempsey crash landing


Dempsey crash landing


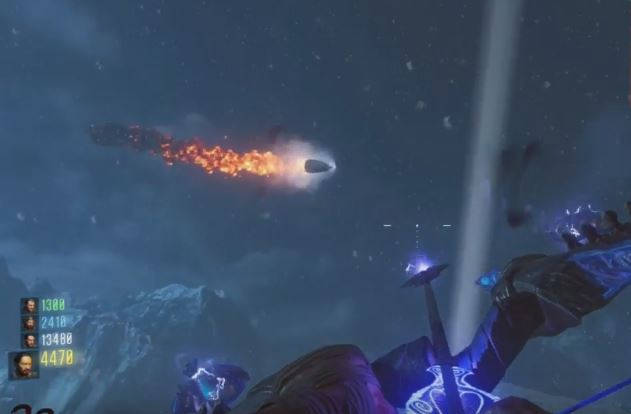
Go back to the Death Ray, activate it again using the green button on the back. The lazer will shoot down the rocket and Dempsey's pod will come crashing down through the clock tower, landing just outside of the control center. It looks like a meteor.


Step 13 - Golden rod device and charging the keepers


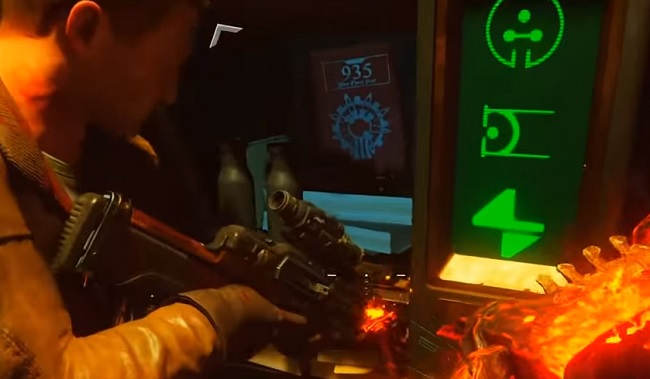
Repeat the Wisps step (4 x blue sparks) and go back in time once again using the teleporter. This time pick up the keeper tablet from the 935 box in the corner.


Take the golden rod from the crash wreckage and take it to the knights tomb. Insert the golden rod device into the slot just under the tomb and a ghostly figure (apothicon servant) will appear.


Now go to the three ritual circles, stand inside and kill zombies in close vicinity to charge them. You MUST use the right bow type for each of the circles. As you stand in the ritual circle, the screen tint/glow colour will guide you as to which bow to use here. When you're at the car site (near Double Tap) make sure you place the tablet as well.


Step 14 - Fight the BOSS


BOSS Fight


Note: This step is possible SOLO.


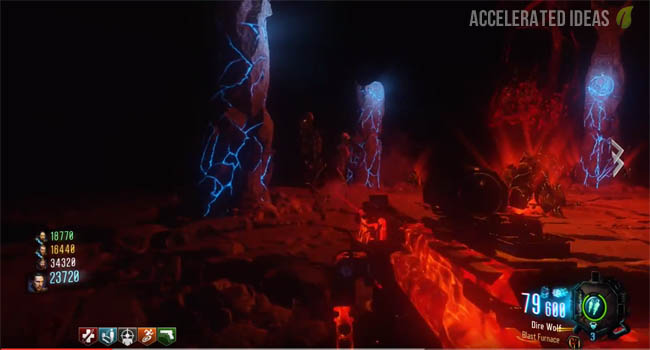
The hardest part of the Easter Egg is to fight and defeat the keeper BOSS. To reach the BOSS location, go back to the pyramid, place the Soul Canister in each of the corners. You'll notice that the top half of the pyramid disappears and the keeper's spirit is standing in the middle.


All players must place their Ragnarok DG-4, one on each of the pressure plates (if SOLO just place one). These are the plates that you originally stood on to activate the pyramid and anti-gravity. You'll be teleported to a dark room, with five pillars around the edge and skeleton zombies attacking you. There's also a massive keeper in the room and you'll need to avoid his electric attacks.


How to kill the BOSS


Above all else you'll need great team work to defeat the BOSS.


Run circles around the room, avoiding the fire and skull attacks while you recharge your DG-4. When the BOSS attempts to use the lightning attack place a DG-4 underneath him then immediately avoid the lightning attack by hiding behind the pillars.


When the BOSS gets trapped by the DG-4 his chest opens up and emits a bright white light. At this point use the bows to inflict as much damage as possible.


Repeat this step until the BOSS spins around and dies. It can take a long time to get to this point.


Step 15 - Insert Summoning Key into Terminal


Moon Rockets


Following the intense fight you're teleported back to the pyramid room. Pick up the summoning key from the side of the pyramid. Go over to the terminal by the Clock Tower and insert the key.


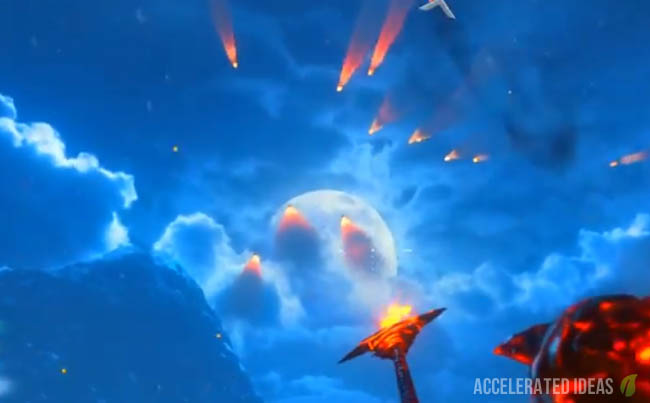
In an epic ending, rockets will fire towards the moon and destroy it!! 

martes, 9 de febrero de 2016

The bow of the Wolf!

This bow is not the most powerful but still kills a lot. Making it is fairly easy and quick .

STEPS:  

-Step 1: To get the pieces of the arrow, you have to interact with 4 boxes, which are scattered around the map and have an order to activate them.  -POSITION PICTURES: One of the pictures is placed at the entrance of the only tower that can be accessed between the heel and speed cola drink. Just below, going from the heel to the speed cola drink or vice versa is another picture. 

The third one is listed in the hall of the speed line at the top of this, just opposite the speed tail.The last picture is in the living room, which adjoins the area of ​​electricity. It is located just down the area of ​​the rooms next to a window where you can catch the zombies.  -ORDER PICTURES: The pictures never change position, but if the images on them. These are 4 and in each game are in different frames.


 FIRST IMAGE: The first picture shows a seated man with a calm and serene, before the war.


 SECOND IMAGE: The second image shows this man, who is a knight riding his horse with a flag where the symbol of the two wolves, going to war all alone appears

 THIRD IMAGE: The third picture should show an apocalyptic landscape in which a desolate mountain in which lightning strikes and the bottom shield this gentleman is the very symbol of the wolves is observed.

 FOURTH PICTURE: The fourth image shows the knight, defeated, tired and lonely in a destroyed landscape.

After interacting with these pictures in the correct order will be listening to a piano note each time the order guesses, and the last, the howl of a wolf was heard. After that, you must go to the area of ​​ritual where the pyramid is located and in the wall that connects the area where the normal range is achieved with the pyramid, the wall will break and you will get the necessary pieces of the arrow.

 -Step 2: For this step you need to go to the area where the rocket launch rocket tests are performed every x time. leaving the teleport in that area you should look up to the right, on the mountain which you left the teleport and you will see a flag. You have to shoot with bow at the base of the flag and the first piece will fall.

 -Step 3: With the piece in your possession, you must go to the altar in the corresponding area in the pyramid sacrifices and put the item (costs a little place). After that, the soul of a wolf which will guide you to the next step appears.

 -Step 4: If you follow the wolf, will take you to three locations on the map where you need to kill near the area around about 10 to 15 zombies, then the wolf will dig and you take the pieces.

 -Step 5: After getting the three pieces of the wolf, you go to a place of sacrifices in the area to stay seated looking up. What to do here is wait for the reduced gravity mode is activated and, while running along the wall, without falling, you will see the symbol of the two wolves just above where is the soul of the wolf. Seeing him, you have to shoot with the bow to the symbol off the ground and a kind of projection on which you can place for a while (when the projection is formed, no matter who touches the ground) will be created. 

Then goes up to the ledge that you created and the hole in the wall, press the button interaction in which you place the pieces you've collected above and a skeleton, which gives you a new arrow is created.

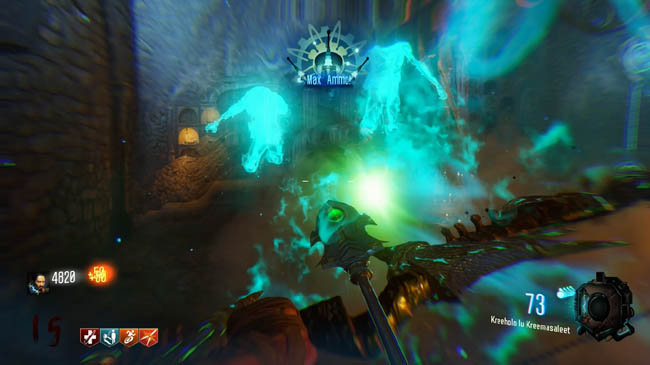
 -Step 6: After collecting the arrow, take her to the altar (where you invoked the dog in step 3) and interact with the left arrow (if you let an arrow if you are awarded a bonus max ammo). After this you have to kill zombies near the zone where is the arrow.

lunes, 8 de febrero de 2016

How to get the Wrath of the Ancients


HOW TO GET THE FIRST BOW. 

This bow is essential to achieve its 4 improvements. To achieve this arc is necessary to kill zombies around 10 near the statues of dragons which are automatically activated to kill a zombie near their positions.

POSITIONS OF DRAGONS: Around the map are 3 dragons which have to fill killing zombies.  -The First position is behind the door (1000 pts) there beside the double tap (2000 pts). You can also crossing the part of the map where the rooms, including the Samantha.  -


The Second dragon is right in the same room as the speed cola (3000 pts) above a fireplace in the back of the room. 


The third dragon is in the area of ​​sacrifice, where among many things, is to turn the pyramid, creating a table of objects such as RAGNAROK COAT ZOMBIE and DG-4. By completing a dragon, this cast a blaze of fire and return to its initial position of stone and break into pieces indicating that it is complete. 


By completing the dragon, this cast a blaze of fire and return to it's intial forme of stone and brack into pieces indicating that it is complete.

When the three dragons are complete you have to go to the road that joins the underground living sacrifice to the place where the speed tail, in the middle of this road, you will find a room with a gentleman lying and just behind the arc created. This bow has a capacity of 60 arrows, does a pretty high damage and if you keep tensioned arrow 2 were spent instead of one but will have more power.